

Creating a ReactJS app is fun, but at some point, you need to deploy it. This part often leaves developers confused. This article provides easy steps to get your app live. It includes hosting services, step-by-step guides, and pitfalls. It helps new and inexperienced developers deploy web apps.
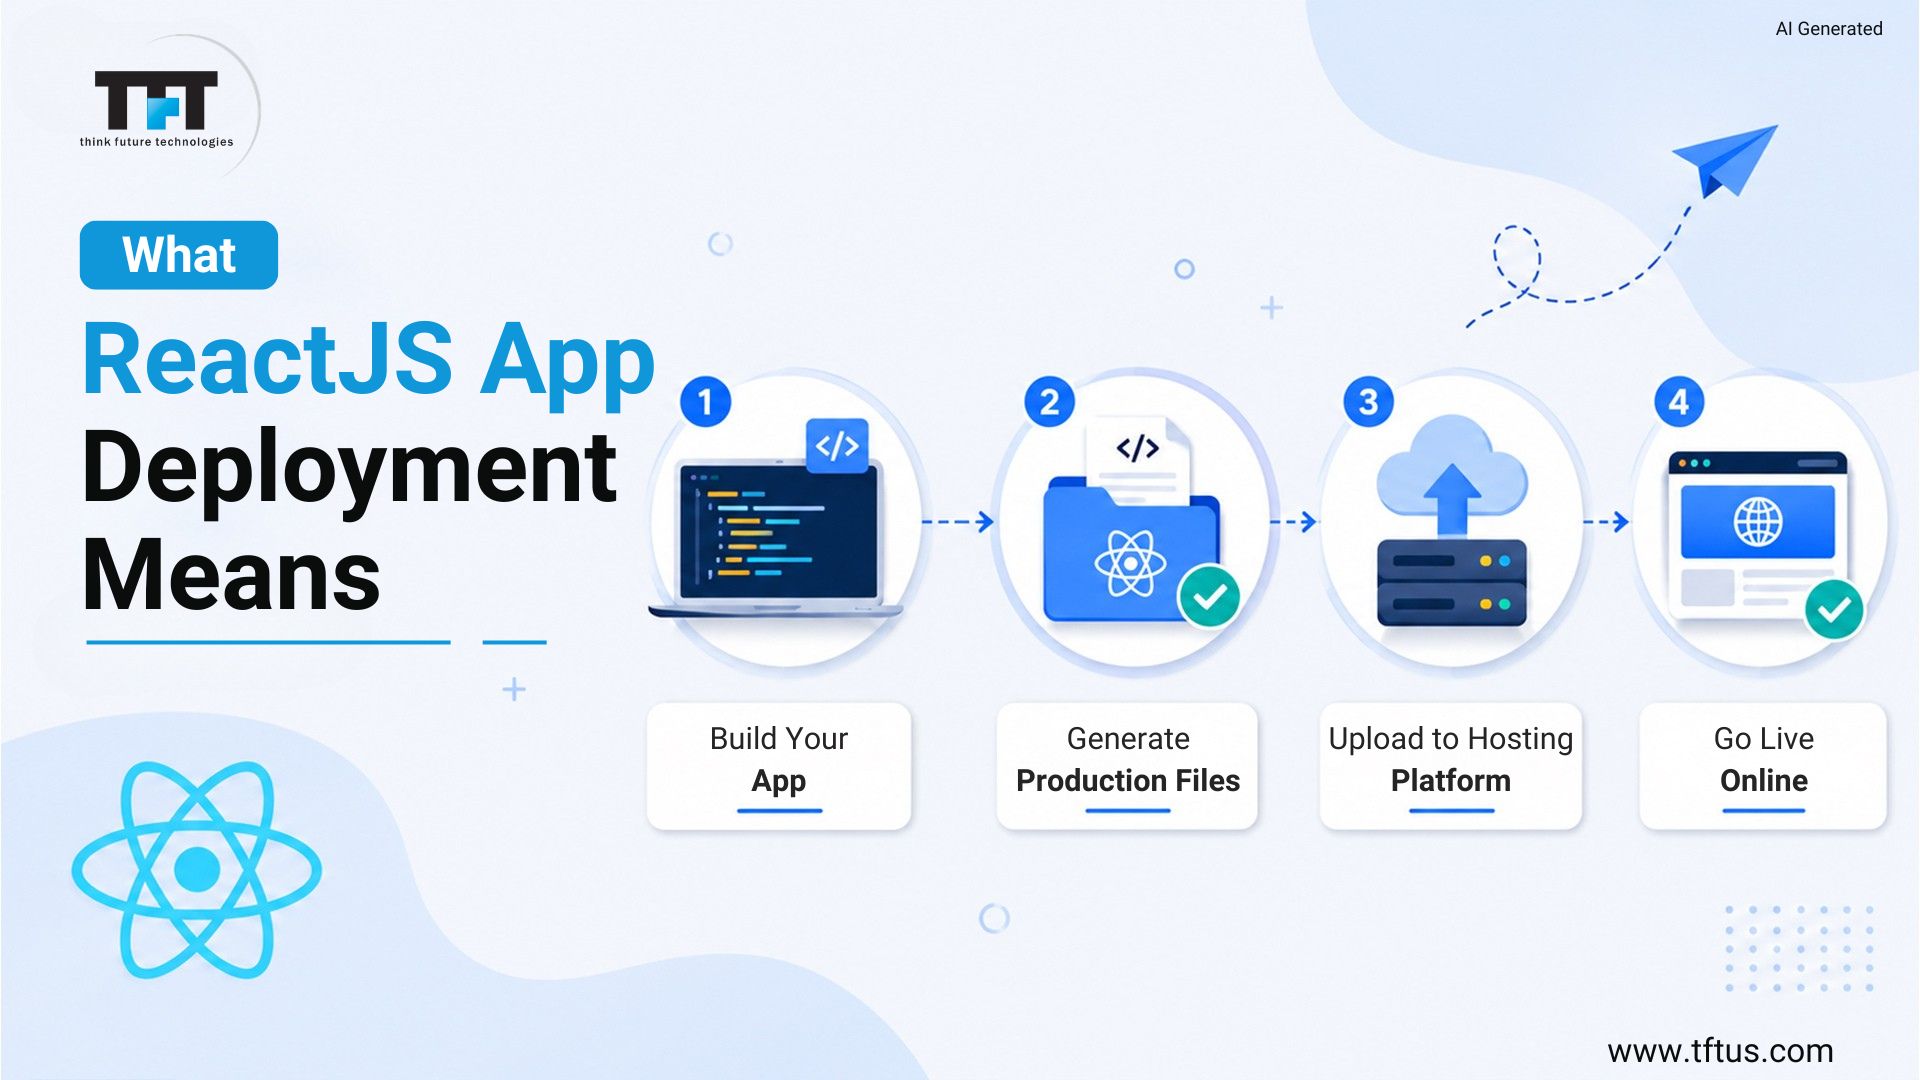
What Is React App Deployment?
This refers to publishing your app online. A ReactJS app generates static files (HTML, CSS, and JavaScript). We then place these files on a web host.
The build command (npm run build) builds a production bundle. This creates a build folder with files. A link is provided for users to access the app.
Knowing how it works helps you select a platform. Some offer static hosting, and others offer server-side hosting. This ensures a quick setup and avoids post-deployment problems.
According to a 2024 LogRocket analysis of React deployment options, developers increasingly rely on platforms such as Vercel, Netlify, Firebase, and GitHub Pages because they simplify deployment workflows and automate updates through Git-based integrations.

4 Best Hosting Platforms to Deploy React App
GitHub Pages
GitHub Pages is one of the easiest and most cost-effective ways to host a React application. Since it is completely free, it is an excellent choice for personal projects, portfolios, documentation websites, and small business landing pages.
Deployment is straightforward because it works directly with your GitHub repository. Whenever you push updates to your repository, you can quickly redeploy your application. However, GitHub Pages is primarily designed for static websites and may not be suitable for applications that require server-side functionality.
Netlify and Vercel
Netlify and Vercel are among the most popular hosting platforms for modern React applications. Both platforms offer seamless integration with GitHub, GitLab, and Bitbucket repositories, allowing automatic deployments whenever code changes are pushed.
They provide features such as custom domains, SSL certificates, continuous deployment pipelines, preview deployments, and support for single-page application routing. Vercel is especially popular for frontend frameworks and fast global content delivery, while Netlify offers additional features like form handling and serverless functions.
These platforms are ideal for startups, developers, and businesses seeking a hassle-free deployment experience.
Firebase Hosting
Firebase Hosting, part of Google’s Firebase ecosystem, is an excellent option for developers who want hosting combined with backend services. It offers fast content delivery through a global CDN, secure HTTPS connections by default, and straightforward deployment using the Firebase CLI.
One of its biggest advantages is seamless integration with other Firebase services such as Firestore Database, Authentication, Cloud Functions, and Analytics. This makes it a strong choice for React applications that require real-time data, user authentication, or scalable backend functionality without managing traditional servers.
AWS Amplify
AWS Amplify is designed for developers building production-grade React applications that need enterprise-level scalability and reliability. It simplifies deployment while providing access to the powerful infrastructure of Amazon Web Services. Amplify supports continuous deployment from Git repositories, serverless backend integration, authentication, APIs, storage, and advanced monitoring capabilities.
It is particularly well-suited for large-scale applications with growing user bases and complex cloud requirements. Although it has a steeper learning curve than Netlify or Vercel, it offers greater flexibility and control for organizations building sophisticated web applications.
3 Prerequisites Before You Deploy
Setup Tools
Set up Node.js and npm. Set up GitHub and Git.
Prepare Your App
Run your ReactJS app locally. Fix bugs before building and deploying.
Repository Setup
Set up a local repository in your project. Link it to GitHub to publish.
Watch: Choosing the Right Platform to Deploy a React App
Before starting the deployment process, it helps to understand the differences between popular hosting platforms. This tutorial explains how modern deployment platforms work and demonstrates practical React application hosting workflows.
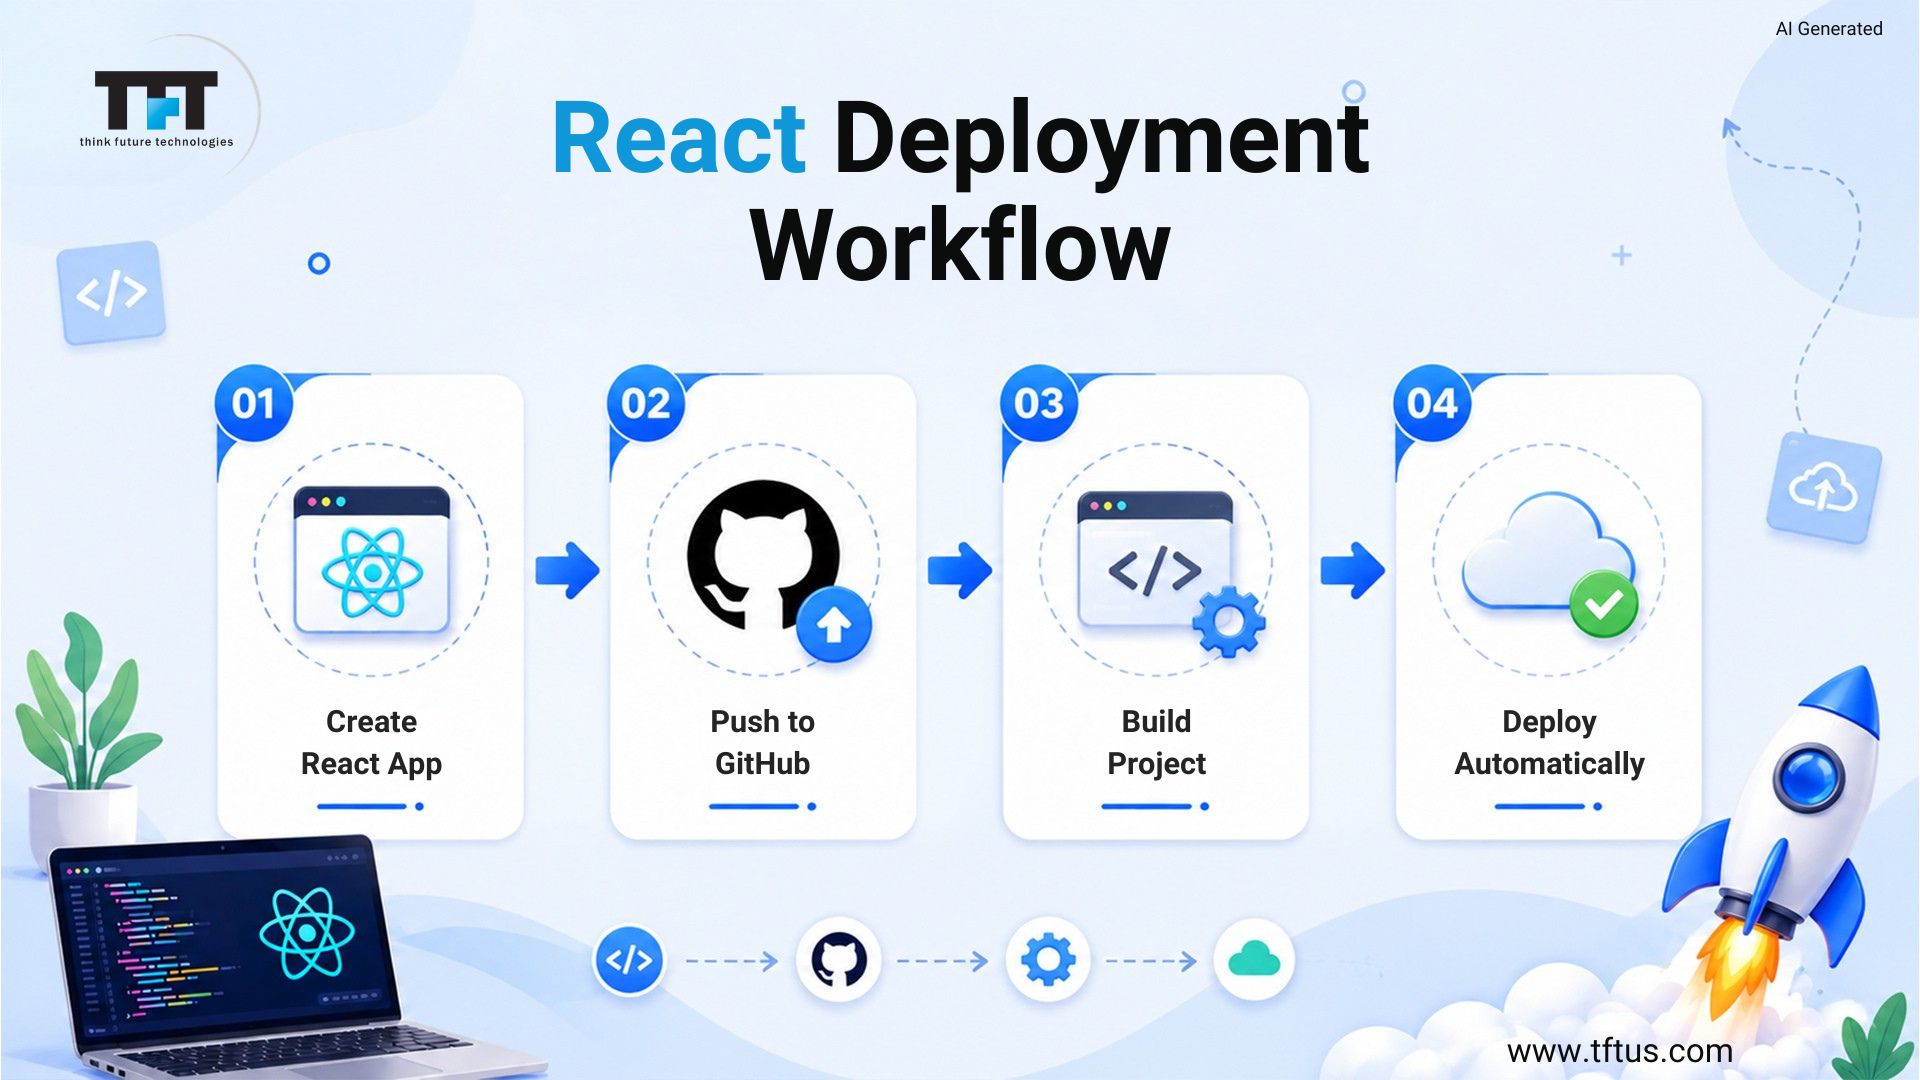
How to Create and Push a React App- Step-by-Step
Step 1: Create React App
Create a ReactJS project using npx create-react-app. Go into the directory and type’ start’, then check it’s working in the browser.
Step 2: Create GitHub Repository
Create a new repo in your GitHub account. Make it an empty repository and copy the instructions.
Step 3: Push Code
Set up Git in your project directory. Commit and push code to GitHub to bind them together.
How to Deploy the ReactJS App on GitHub Pages?
Step 1: Install the gh-pages Package
In your terminal, run the following command to install the gh-pages tool.
npm install gh-pages –save-dev
Add a homepage key to your package.json file. Make sure to set it to your GitHub Pages URL, as shown below.
"homepage": "https://yourusername.github.io/repo-name"Step 2: Add the predeploy Script and Deploy Script
To the scripts section of your package.json file, add a predeploy script and a deploy script. These will run the npm run build command before deploying. Add the following lines to your file.
"predeploy": "npm run build",

"deploy": "gh-pages -d build."
Step 3: Push to the GitHub pages Branch
Then run the following to deploy your React app to GitHub Pages.
npm run deployThis will build your app and deploy the static files to the GitHub Pages branch. Now navigate to the settings of your repository on GitHub, select the Pages section, and click save with your source set to the GitHub Pages branch. It will then be accessible at your homepage URL.
You can deploy at any time by repeating the previous command, npm run deploy. This makes it easy to update your React app on GitHub Pages. This is a fun way for any small React app to get free hosting.
How to Deploy the React App on Netlify?
Deploying a React application on Netlify is a simple process that requires minimal configuration. With automatic deployments, custom domains, and built-in performance optimization, Netlify is one of the most popular hosting platforms for React developers.
Step 1: Create Site
Start by signing in to your Netlify account. Once logged in, click “Add New Site” and select “Import an Existing Project.” Connect your GitHub, GitLab, or Bitbucket account and authorize Netlify to access your repositories. After linking your account, choose the React project repository you want to deploy.
Step 2: Deploy Project
Select your ReactJS repo. Netlify will find your build commands and deploy in minutes.
Step 3: Manage and Update
Once deployment is complete, Netlify provides a unique URL where your application is accessible. Every time you push new code to your connected Git repository, Netlify automatically triggers a new build and deployment. Through the Netlify dashboard, you can manage custom domains, SSL certificates, environment variables, deployment history, analytics, and performance settings. This continuous deployment workflow makes maintaining and updating React applications fast and efficient.
Why Use Netlify for React Apps?
Netlify offers several advantages for React developers, including automatic deployments, global CDN distribution, free SSL certificates, custom domain support, branch previews, and serverless functions. These features make it an excellent choice for portfolios, business websites, SaaS products, and production-ready React applications.
How to Deploy the React App on Vercel?
Vercel is one of the most developer-friendly platforms for deploying React applications. Known for its fast deployment process, global CDN, and automatic scaling capabilities, Vercel enables developers to publish production-ready applications with minimal configuration.
Step 1: Import Project
Begin by signing in to your Vercel account using GitHub, GitLab, or Bitbucket. After logging in, click “New Project” from the dashboard and select the React repository you want to deploy. Vercel automatically detects React applications and preconfigures the recommended build settings, making the setup process quick and straightforward.
Step 2: Deploy and Preview
Once your project is imported, click “Deploy” to start the deployment process. Vercel installs the required dependencies, creates an optimized production build, and deploys the application to a live URL within minutes.
Every code update pushed to your repository automatically generates a new deployment. Vercel also provides preview deployments for pull requests, allowing developers and stakeholders to review changes before they go live.
Step 3: Configure and Scale
After deployment, you can customize your application through the Vercel dashboard. Add environment variables, configure custom domains, enable analytics, and manage deployment settings. Vercel’s global edge network ensures fast content delivery across different regions, improving application performance and user experience.
As your traffic grows, the platform automatically scales to handle increased demand without requiring manual server management.
Benefits of Using Vercel for React Applications
Vercel is designed specifically for modern frontend frameworks and offers features such as continuous deployment, preview environments, custom domains, automatic HTTPS, edge caching, and serverless functions.
Its seamless Git integration and high-performance infrastructure make it an excellent choice for personal projects, startup applications, enterprise solutions, and large-scale React deployments. By automating much of the deployment process, Vercel allows developers to focus more on building features and less on managing infrastructure.
Case Study: How Teams Use Vercel to Improve Deployment Performance
Several organizations highlighted by Vercel have reported measurable deployment and performance improvements after adopting automated deployment workflows. For example, Runway reduced build times from seven minutes to forty seconds, while Leonardo AI reported substantial page-load improvements after optimizing deployment infrastructure.
These examples demonstrate how modern deployment platforms can help teams scale React applications while reducing operational overhead and improving user experience.
How to Deploy the React App on AWS Amplify?
AWS Amplify provides a powerful and scalable platform for hosting React applications. Built on the reliability of Amazon Web Services, it simplifies deployment while offering advanced features such as continuous integration, serverless backends, custom domains, and automatic scaling.
Step 1: Create App
Start by signing in to your AWS account and opening the AWS Amplify Console. Select “Host a Web App” and choose your Git provider, such as GitHub, GitLab, Bitbucket, or AWS CodeCommit. Authorize Amplify to access your repositories and select the React project you want to deploy. Amplify will connect directly to your existing repository and prepare it for deployment.
Step 2: Build and Deploy
After selecting your repository, AWS Amplify automatically detects the React framework and generates the necessary build settings. Review the build configuration and click “Save and Deploy.” Amplify will install project dependencies, run the build process, and deploy the optimized production files. Once completed, your React application will be available through a live Amplify-hosted URL.
Step 3: Manage and Scale
AWS Amplify continuously monitors your connected repository for changes. Whenever new code is pushed to the selected branch, Amplify automatically triggers a fresh build and deployment. Through the Amplify dashboard, you can manage custom domains, SSL certificates, environment variables, build logs, application performance, and deployment history. The platform also leverages AWS infrastructure to automatically scale resources based on traffic demands, ensuring consistent performance as your application grows.
Benefits of Using AWS Amplify for React Applications
AWS Amplify is an excellent choice for developers building production-grade React applications that require scalability, security, and cloud integration. It offers features such as continuous deployment, global content delivery, custom domains, serverless backend services, authentication, API integration, and real-time monitoring. For teams planning to expand their applications with cloud-native capabilities, Amplify provides a seamless path from deployment to full-scale application management.

Managing Environment Variables
Environment variables are used to keep sensitive information, such as API keys, separate from code. For creating React apps, variables need to be prefixed with REACTAPP. Add your keys to a file named .env in the root of your project, using a text editor.
REACT_APP_API_KEY=your_key_hereAll hosting providers have an interface where you can set environment variables for your React app. You can do this in Netlify, Vercel, Firebase, and the Amplify console, all in the project settings. Make sure never to add a .env file to your GitHub repository, as it contains sensitive information.
Environment variables need to be set before deployment so they can be read during the build. After deployment, test your React app to ensure the API calls succeed. This is a common source of bugs after deployment.

Client Side Routing and React Router
React Router is a popular way of navigating between pages in React apps. This is fine locally, but it can lead to 404 errors in production. By default, the server cannot see client-side navigation, and a user will get an error if they refresh the page.
To resolve this, configure your hosting service to redirect to index.html. Netlify and Vercel automatically support client-side routing for single-page apps. With GitHub Pages, create a 404.html page or a redirect script.
With Firebase, you can set up client-side routing when you run firebase init. Never deploy your React app without testing React Router. Users get very frustrated and think your site is untrustworthy.
3 Common Mistakes to Avoid
1. Build Process
You’ll need to build your ReactJS app. Make sure to run npm run build to deploy the latest release.
2. Environment Variables
Don’t use hardcoded secrets. Store API keys in the hosting dashboard.
3. Routing Issues
Check all routes post-deployment. Check that React Router pages are loading.

Deployment Checklist
Before deploying, do the following:
- Build the project (npm run build) without any errors.
- Configure environment variables in the hosting platform
- Test client-side routing between all of the main pages
- Test custom domains are correctly set up.
- Monitor the site once deployed.
- Make sure the GitHub repository is up to date with the latest git push.
Why Deployment Matters?
Going Live
Deploying makes your ReactJS apps usable. Hosting makes your user interface accessible.
Platform Choice
Select platforms according to app size. GitHub Pages or Netlify for small apps and AWS Amplify or Firebase for large apps.
Feedback and Updates
Deployment provides user feedback. Regular updates can be used for bug fixes and optimization.
Conclusion
Hosting a React application shouldn’t be hard or costly. Finding the right hosting provider and following a step-by-step guide makes it convenient to deploy a React app in less than an hour. Follow this advice to decide the right hosting platform for your app and get your website online.


Leave a Reply